Recipe adapted from no knead bread recipe by Jim Lahey. Source: http://en.wikipedia.org/wiki/No-knead_bread and http://www.nytimes.com/2006/11/08/dining/081mrex.html?_r=0
Preparation time: 3-4 hours
Serve: 2
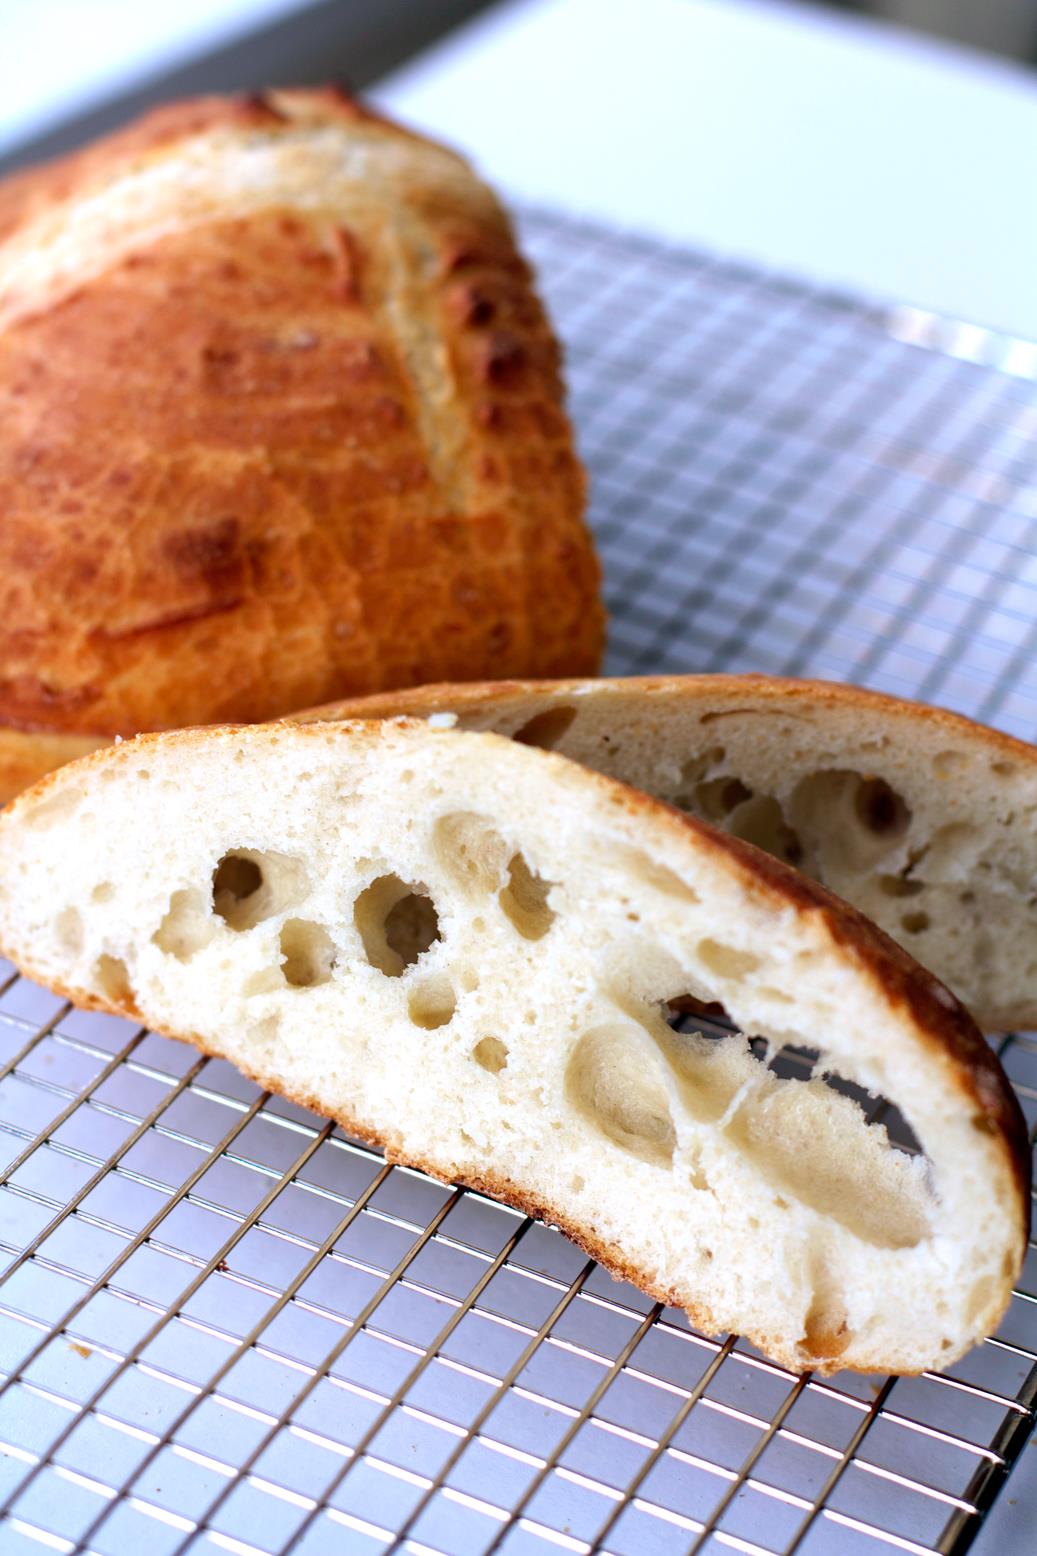
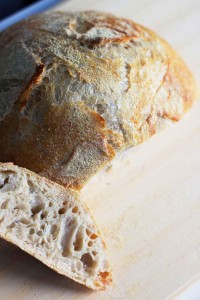
Photo: I did want to have some big holes so I kneaded them here for about 10min.

Method:
1 and 1/2 cup Arthur King bread flour (blue and white packet)
1/3 tsp kosher salt ( I used David’s Kosher salt which looks like this
link, it can be found at Safeway)
1/8 tsp active dry yeast (
Fleischmann’s active dry yeast, I bought mine at Safeway but I found out
Target also carries it for much less in price)
1/2 cup + 5 tbsp warm filtered water
1/8 tsp red wine vinegar ( in my case I always use old red wine and the flavor is soooooo goood)
Combine all this ingredient together in a deep bowl until incorporated. Cover it with a plastic wrap or a damp towel.
Leave the bowl at room temperature for 3-4 hours in a warm place.
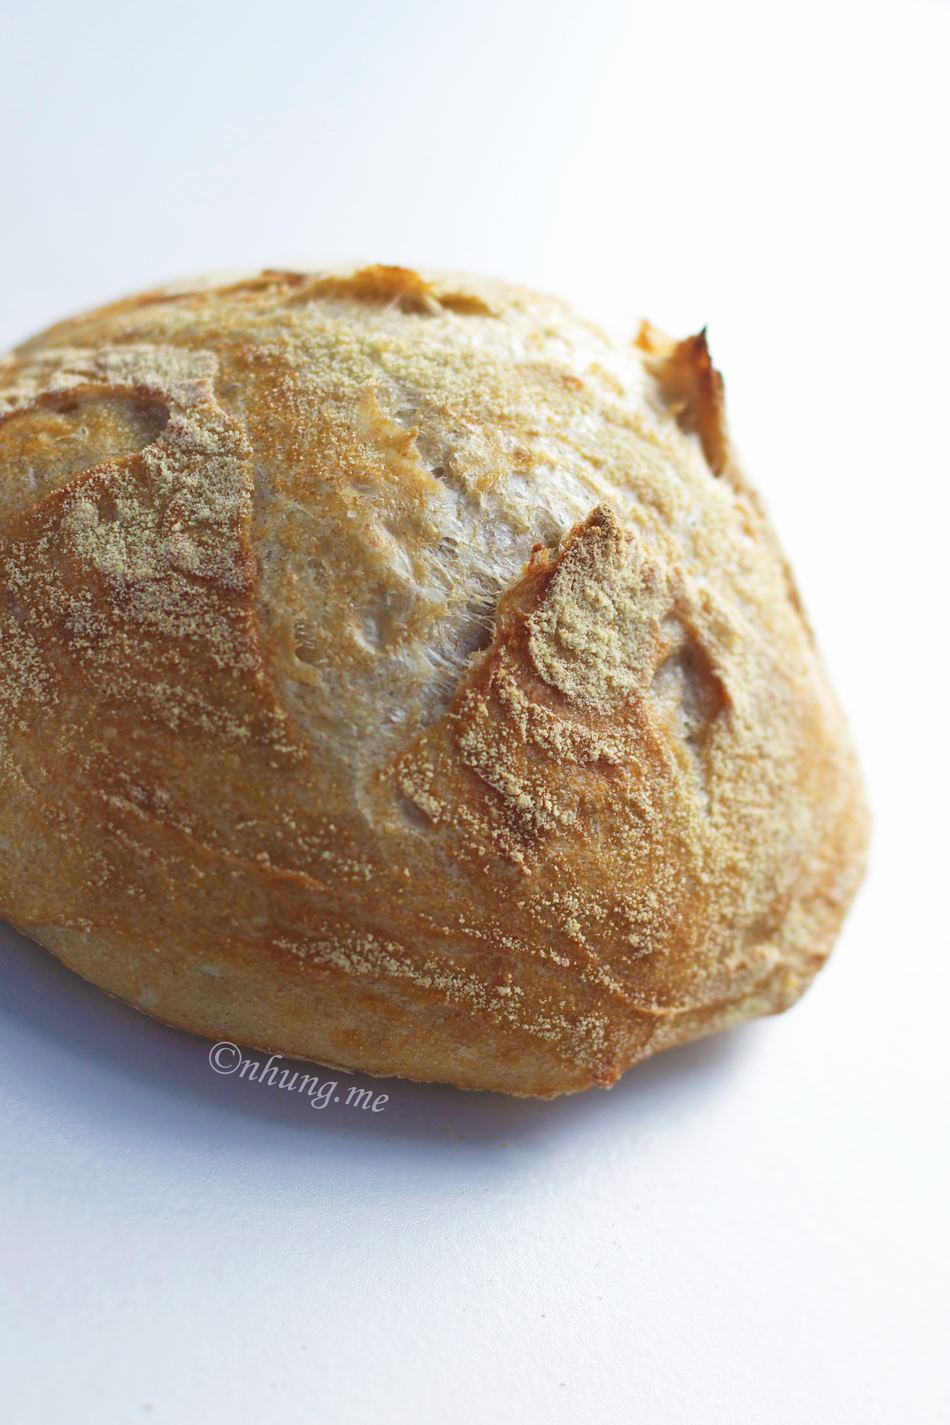
Take the dough out, shape it as you want. Today I shape it as a boule. After shaping it. Cover it with plastic wrap or damp towel again. Let it rise nearly double in size for about 40 minutes.
Preheat the oven at 540F or 500F at least 30 minutes in advance. When you preheat the oven, please preheat the pan as well. Be careful when you open the lid, I actually burnt myself last time because of that.
Line the pan with a sheet of parchment paper. Transfer the dough into the pan. Spray some water on the sides of the pan. This step is very important because it helps to make nice bread crust and good ovenspring.
Cover the lid back on. Baking time really depends on the size of the bread dough.
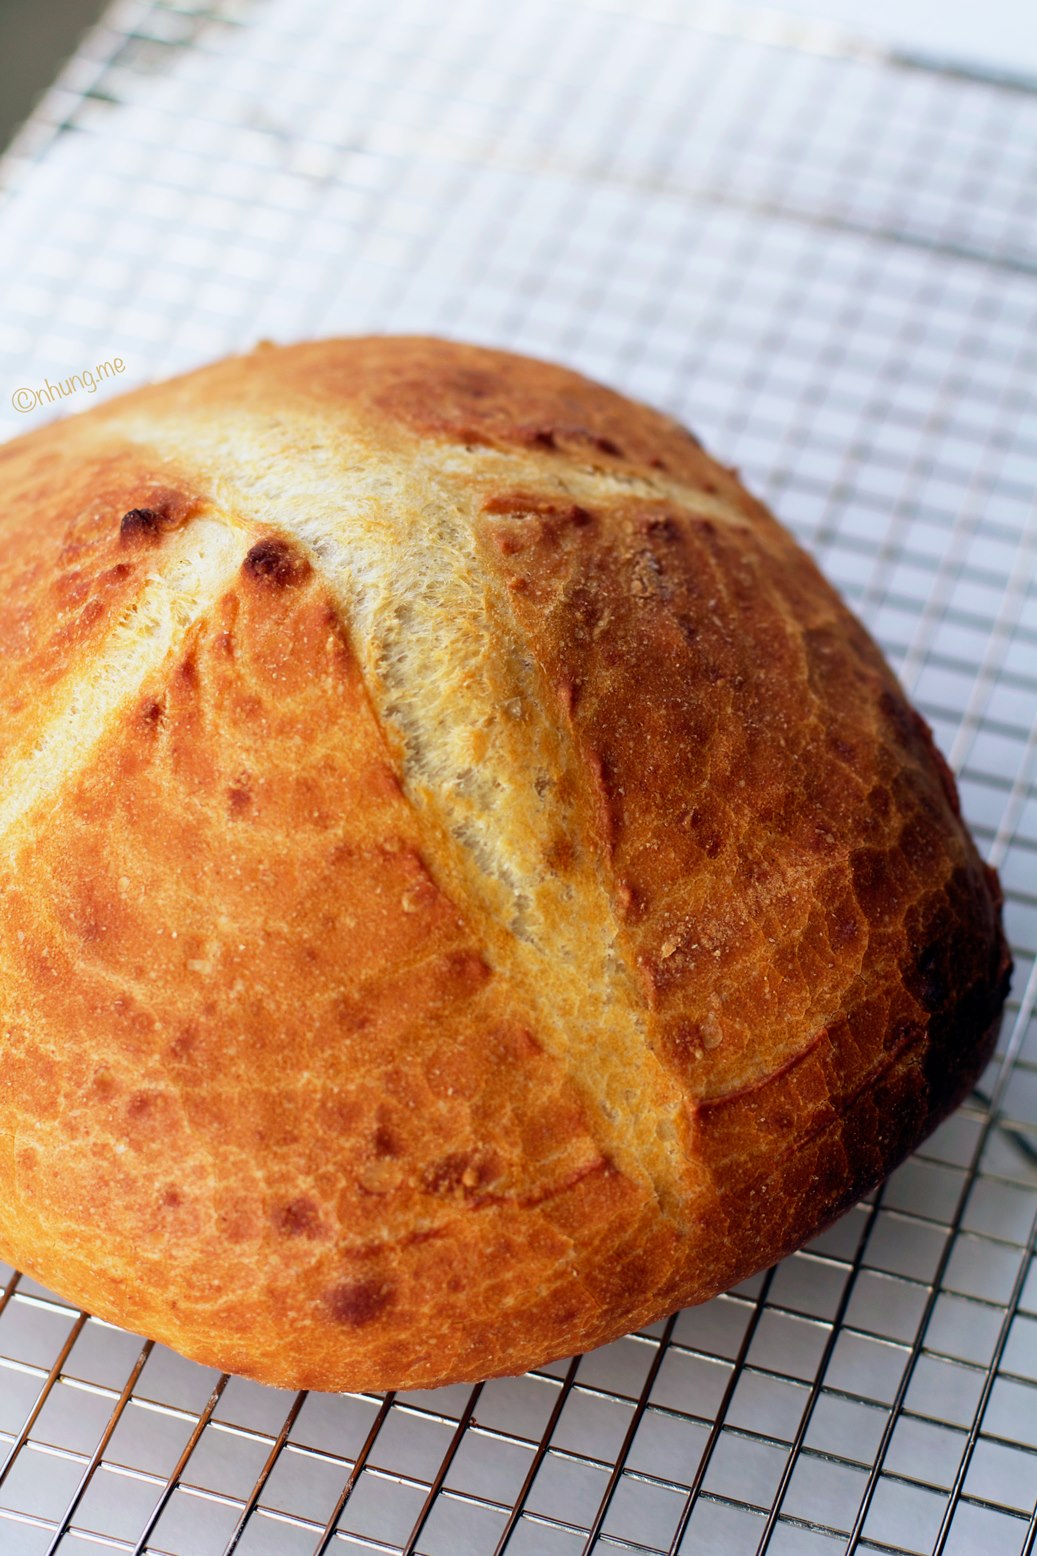
But in general, bake the bread 20 minutes at 475F. Open the lid to check if the crust is beautiful golden or not.
If not, remove the lid, bake another 5-10 minutes at 425F.
If yes, turn off the heat. Wait 1 minute and take the bread out.
Let the bread cool on rack. You should hear the crust crackling. and Yum!!!!!!!!! A and I both agree that freshly baked bread with simple unsalted butter is just pure pleasure.
THE ORIGINAL VERSION OF 18-20 HOURS FERMENTATION
The ingredients are exactly the same, but instead of warm water, you have it a little bit less warm; remove the red wine vinegar.
The fermentation time is 18-20 hours.
All the other steps are the same as above.
----
Mình bắt đầu tập tành làm bánh mỳ từ năm 2009, mê mẩn nhồi bột đến gẫy cả tay, nhiều hôm mệt quá còn nhờ thanh niên hàng xóm nhồi hộ. Hồi ấy, bánh mới ra lò mùi thơm, nhưng ruột đặc và ăn không ngon được như bánh mua. Đến năm 2010, hồi ở Amsterdam, sắm được cái food processor (máy xay đa năng) nên việc nhồi bột dễ hơn hẳn vì chỉ cần cho vào máy 30giây đến 1 phút là xong, thế nào mà bánh ăn vẫn chưa thích. Vậy là niềm vui làm bánh mỳ tạm gác lại.
Đợt gần đây , nhu cầu ăn bánh mỳ thỉnh thoảng lại lên cao vì mình hay làm rillettes (một loại pate thịt của Pháp), rillettes mà không ăn với bánh mỳ thì chẳng hợp vị chút nào. Tuy nhiên việc phải nhồi bột vẫn ám ảnh mình, cho tới khi gặp được công thức bánh mỳ không nhồi này thì gần như ngày nào cũng làm trong một tuần liên tiếp vì ăn ngon quá.
Công thức no knead bread do Jim Lahey nghĩ ra, chắc hẳn đã có từ lâu nhưng tới năm 2006 mới được phổ biến nhờ một bài báo trên tờ New York Times. Công thức rất đơn giản chỉ gồm bột dai làm bánh mỳ(gluten cao), men khô, nước và muối. Lahey đưa ra hai công thức về cơ bản là giống nhau, chỉ khác nhau về nhiệt độ nước và thêm dấm rượu vang.
Công thức đầu tiên đòi hỏi 18-20 tiếng ủ bánh. Cách đơn giản nhất là tối hôm trước trộn bột, đậy lại. Sáng dậy tạo hình bánh, chờ bánh nở phồng và sau đó đem nướng. Công thức này tuyệt vời nhưng đòi hỏi phải có kế hoạch trước.
Công thức thứ hai ra đời giải quyết vấn đề ủ bánh lâu đó, thời gian làm bánh tổng cộng của công thức này chỉ 3-4 tiếng. Người ta nói rằng, thời gian ủ bánh càng dài (nhưng có mức độ, vì ủ lâu quá, bánh nướng sẽ có mùi chua) thì hương vị bánh càng ngon, nhưng mình thấy công thức ủ nhanh này hoàn hảo. Vỏ giòn, đẹp, ruột mềm, thơm. Với bánh này, mình toàn thích ăn vã.
Mình giới thiệu lại cả hai công thức bánh mỳ không nhào bột dưới đây để mọi người lựa chọn. Công thức đều do mình đã cắt giảm để phù hợp với gia đình nhỏ (2 người) vì bánh mỳ nhà làm không có phụ gia nên bánh mỳ sẽ cứng nhanh hơn bánh mỳ ngoài hàng. Mình thường làm công thức này và ăn trong ngày.
BÁNH MỲ KHÔNG NHỒI BỘT
1. Công thức bánh ủ 18-20 tiếng
1 + 1/2 cup bột dai làm bánh mỳ
1/8 tsp men khô (1/8 thìa cà phê)
1/4 hoặc 1/3 tsp muối kosher (tuỳ khẩu vị, cá nhân mình thích bánh có hương vị đậm đà) (1/3 thìa cà phê)
1/2 cup+ 5 tbsp (1/2 cup và 5 thìa canh) nước ấm (nước ấm 30-40 độ, cách thử cho ngón tay vào thấy ấm dễ chịu)
Cách làm:
Trộn tất cả các nguyên liệu ở trên trong bát thành cao, đáy sâu tới khi các nguyên liệu được trộn đều, không còn thấy bột khô. Bước này thường mất chưa tới 1 phút.
Phủ bát trộn bột bằng plastic wrap hoặc khăn ẩm, đặt bát trên trạn bếp hoặc bất cứ nơi nào nhiệt độ bình thường trong nhà 18-20 tiếng.
Sau 18-20 tiếng, đem bột ra, lật, tạo hình, để bột nở gấp đôi.
***Trước khi lấy bột ra thì nên bật lò nóng 540F (250 độ C) ít nhất trước 15-30 phút để lò ổn định nhiệt độ.
Chuẩn bị một nồi nướng to (Dutch oven) hoặc khuôn thiếc to, bất cứ thứ gì cao để phủ kín bánh trong lò khi nướng. Đây là bước cực kỳ quan trọng (ít nhất đối với mình) vì mình thấy bánh nướng bằng phương pháp này, giúp bánh nở tốt hơn, vỏ bánh (crust) rất đẹp.
Nếu dùng nồi nướng như công thức yêu cầu thì đưa nồi vào trong lò ngay khi bật lò trước. Còn nếu dùng khuôn thiếc hoặc các loại khác đậy bánh thì đợi sau.
Bánh sau khi đã tạo hình và nở (khoảng 1 tiếng), cho bánh vào nồi nướng, phun thật nhiều nước lên thành nồi, đậy vung.
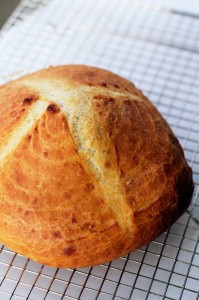
Nướng bánh ở 475F(240 độ C) 15-20 phút tuỳ cỡ bánh, bánh mình làm một ổ thì 20 phút. Sau 20 phút, mở vung và chiêm ngưỡng thành quả tuyệt vời, vì lúc này bánh đã nở và vỏ bánh vàng ruộm đẹp như này
Bỏ vung, nướng tiếp 1-2 phút hoặc 5 phút tuỳ khẩu vị. Nhà mình nướng 20 phút đậy vung, 1 phút không đậy vung.
2. Công thức ủ ngắn 3-4 tiếng
Cách làm tương tự như trên, chỉ khác một chút về nguyên liệu và thời gian ủ bánh ngắn hơn:
1 + 1/2 cup bột dai làm bánh mỳ
1/8 tsp men khô (1/8 thìa cà phê)
1/4 hoặc 1/3 tsp muối kosher (tuỳ khẩu vị, cá nhân mình thích bánh có hương vị đậm đà) (1/3 thìa cà phê)
1/2 cup+ 5 tbsp (1/2 cup và 5 thìa canh) nước ấm (nước NÓNG 50-60 độ)
1/8 tsp dấm rượu vang (red wine vinegar, nhà mình không ăn dấm này nên mình dùng rượu vang cũ)
— Chúc mọi người thành công.
Nguồn: http://en.wikipedia.org/wiki/No-knead_bread and http://www.nytimes.com/2006/11/08/dining/081mrex.html?_r=0
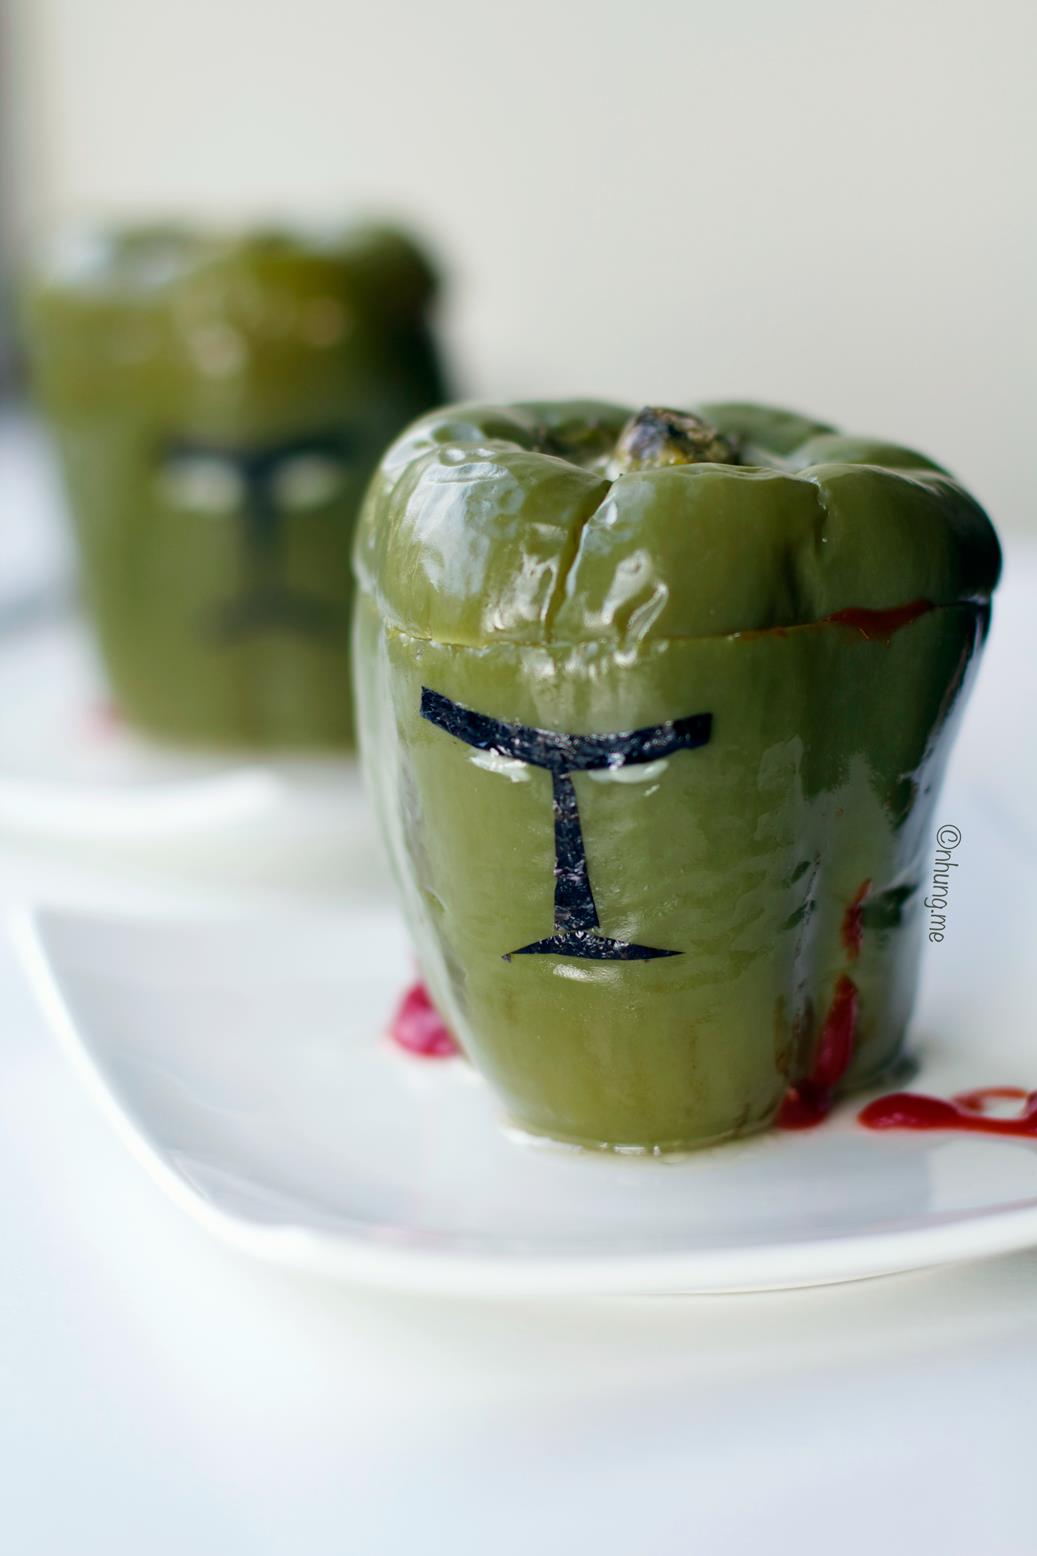 2 green bell peppers (cut a thin slice at the ends to make them stand better. Mince and use this in the stuffings as well)